I recently I participated in a jewelry swap called “Creative Canape”. The participant in this swap exchanged handmade beads and other components to create a nice mix to send to their partner. I was paired with Lynne Bowland www.islandgirlsinsights.blogspot.com and she created some fabulous lampwork pieces and enameled beads.

Bright swap pieces
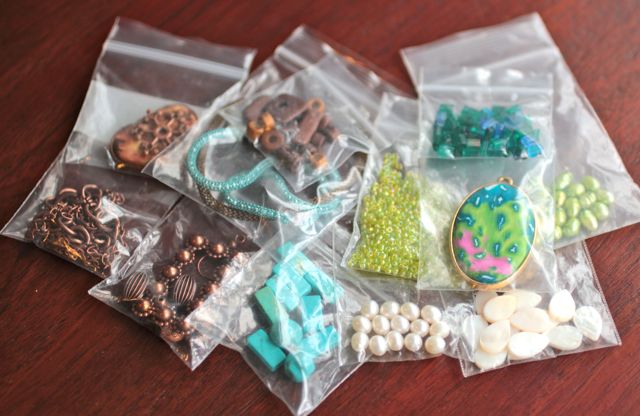
I could not make up my mind what to send so I sent two different canapes. I am even like this when I entertain. I can never decide what to cook so I make a ton.

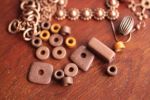
Handmade Clay beads

Both swap sets
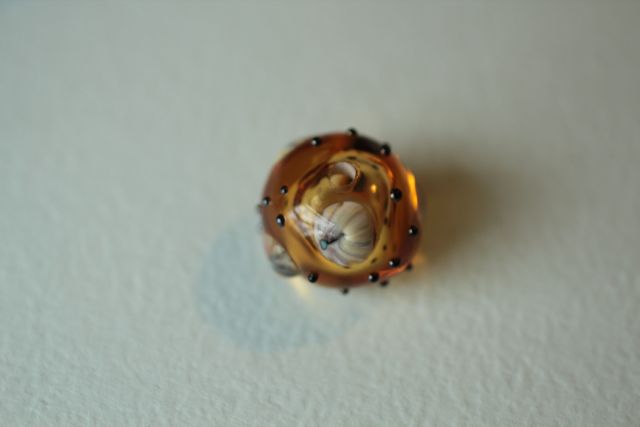
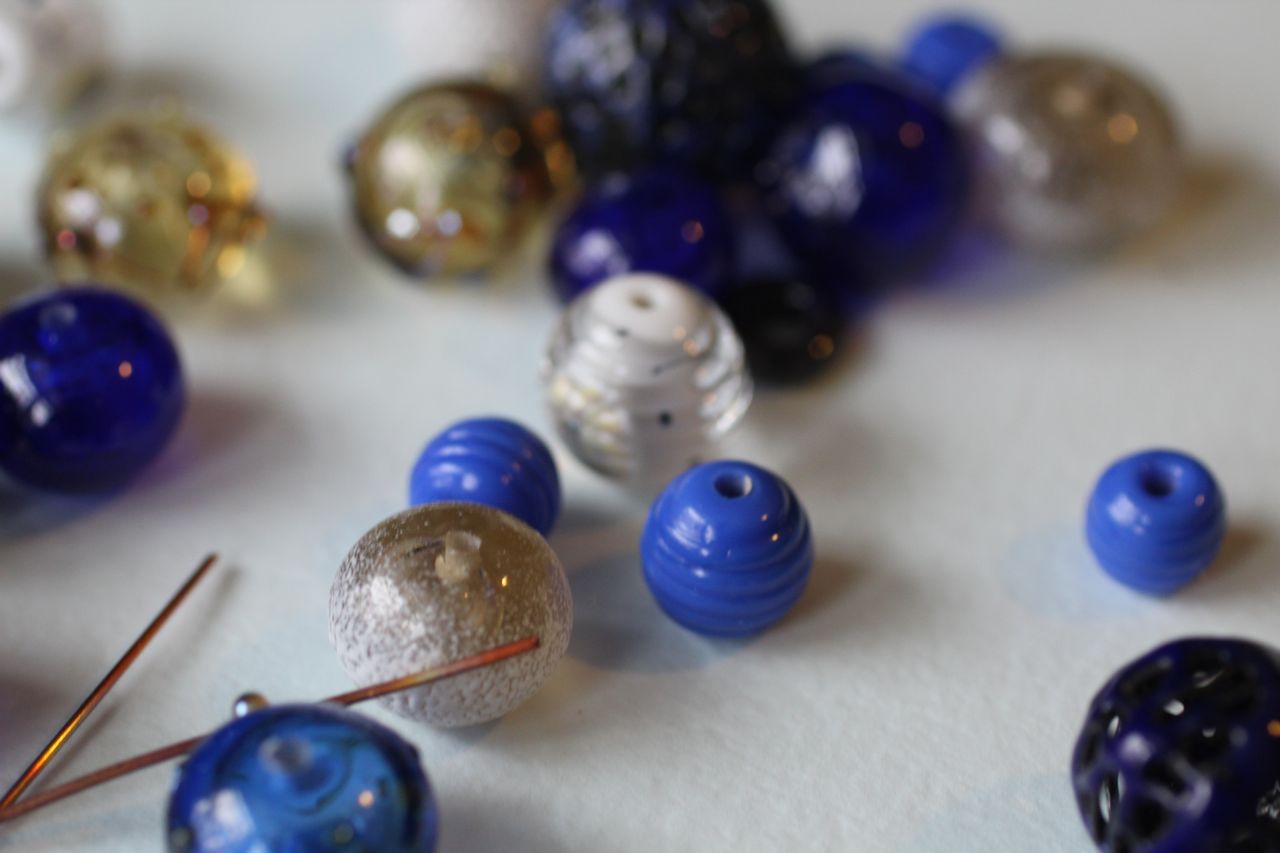
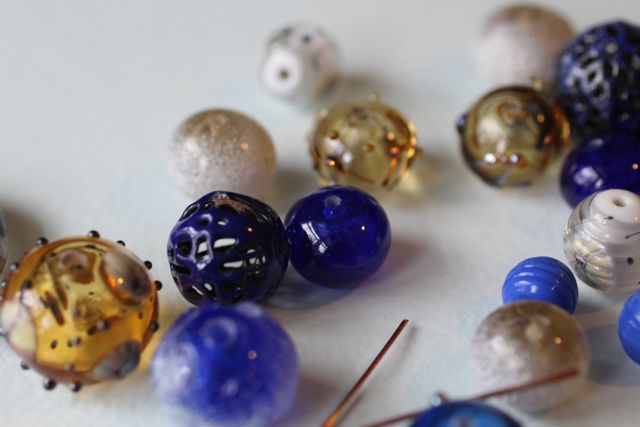
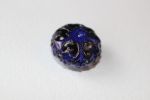
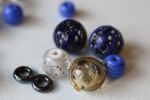
Now these were the beads that I received. Little did she know that cobalt blue is my favorite color, especially cobalt glass. I sat the beads on my desk the day they arrived. I added beads, I took beads away, rearranged beads and simply could not make up my mind what I wanted to do.
-

-
Bright swap pieces
-
-
Handmade Clay beads
-

-
Both swap sets
-

-

-
-
-

-

-

-
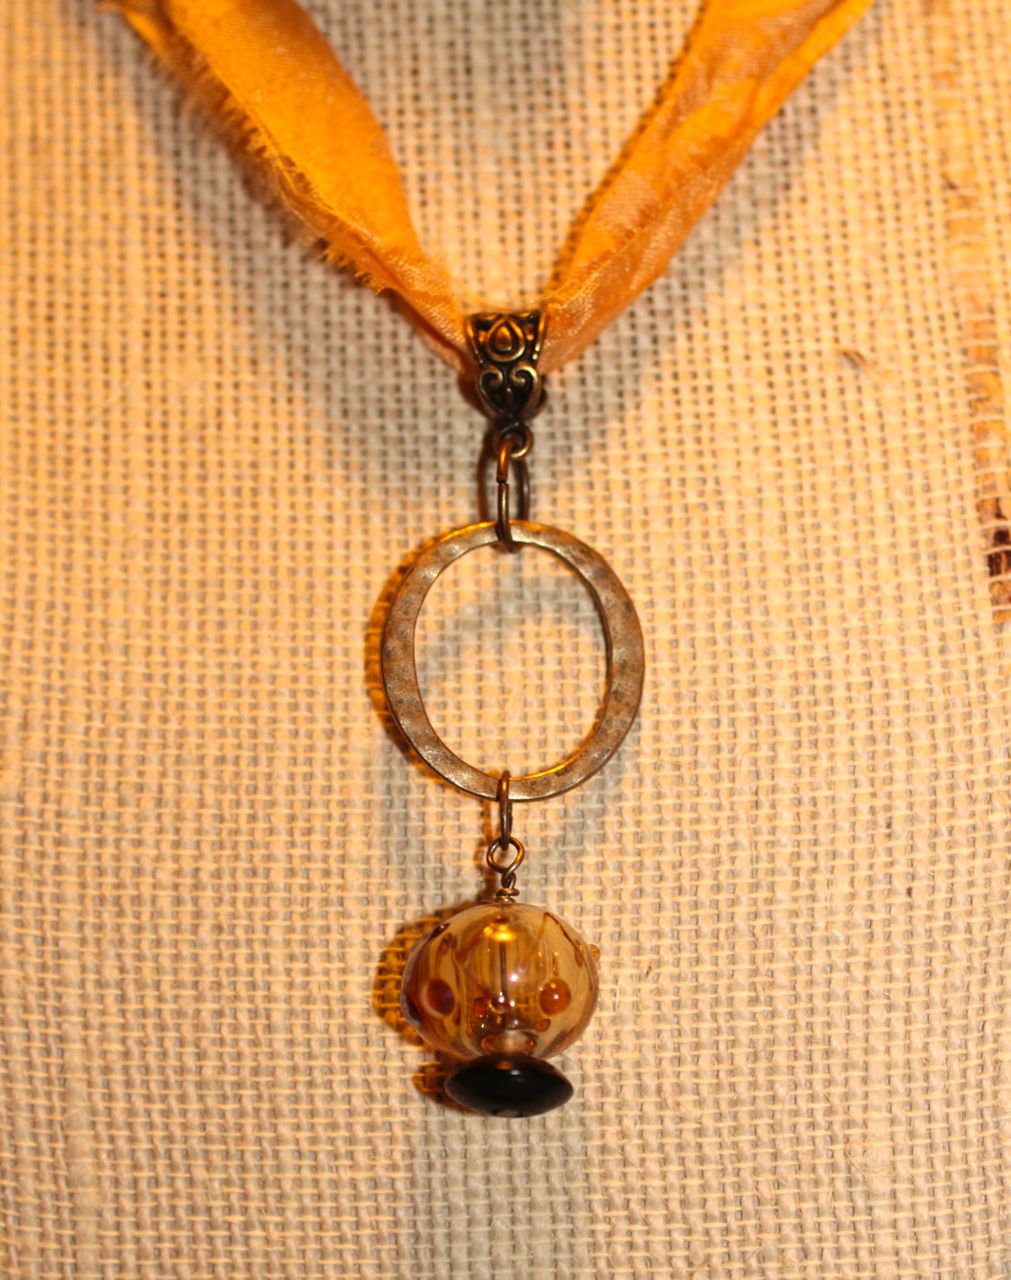
pendant
-

-
-
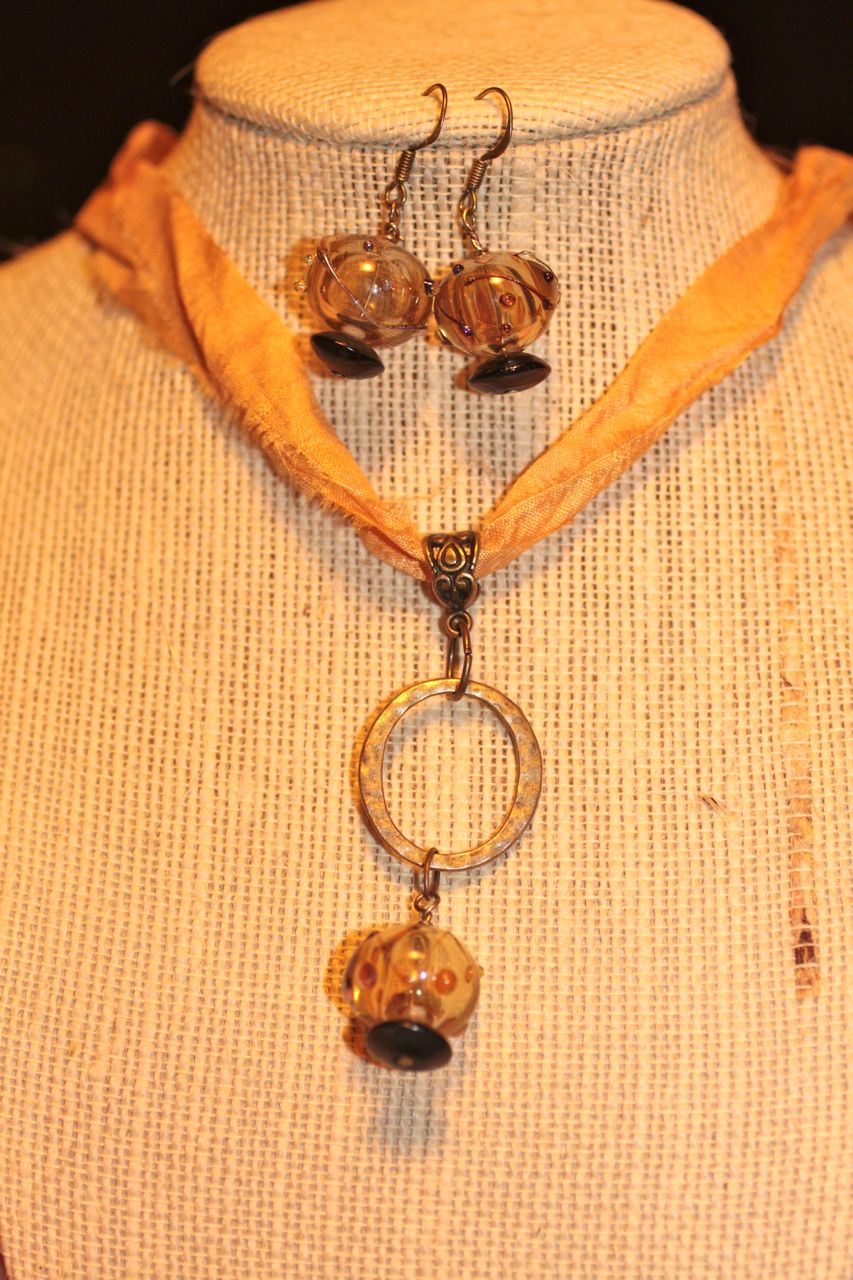
earrings
-

-
earrings and pendant
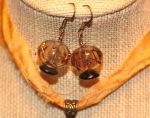
Now this is what I ended up with… and I bet you are going to be surprised that I did not even use one of the cobalt pieces. I was not “feeling” it and did not want to create something that I was not happy with and/or made and took apart 25 times. So, what I decided to do was create a pendant and a matching pair of earrings. I am very happy with my decision to save the other pieces for when my mojo is flowing because the beads she created are beautiful and I need to do them justice. So now when the bead fairy sprinkles me with some mojo I will share my creations.

pendant

earrings

earrings and pendant
Please take a look at the other participants and their canape creations!
Keri Lee Sereika www.pinklemonade.typepad.com
Beth Emery www.storiesbyindigoheart.blogspot.com
Niki Meiners www.nikimeiners.wordpress.com
Karan Parker www.karanskrafts.blogspot.com
Liz DeLuca www.creativeartyfacts.blogspot.com
Lynne Bowland www.islandgirlsinsights.blogspot.com
Judy Turner www.silver-rains.blogspot.com
Erin Grant www.Erinsjewelrycreations.blogspot.com
Bryna Lumb www.brynasbeadbox.blogspot.com
Rochelle Brisson www.acreativechelle.blogspot.com
Linda Youkman www.lindysdesigns.blogspot.com
Carmen Lau www.littlemake.blogspot.com
Cheryl Foiles www.getyourbeadon.com
Kelli Jacobson www.CreativeMoonJewelryAndThings.com
Elena Gianni www.ilmondodipucci.blogspot.com
Tania Hagen www.pelimadesign.blogspot.co.nz
Cindy Muse www.cindyshandworkcrafts.blogspot.com
Stephanie Woods www.skwds.blogspot.com
Lisa Lodge www.pineridgetreasures.blogspot.com
35.759573
-79.019300